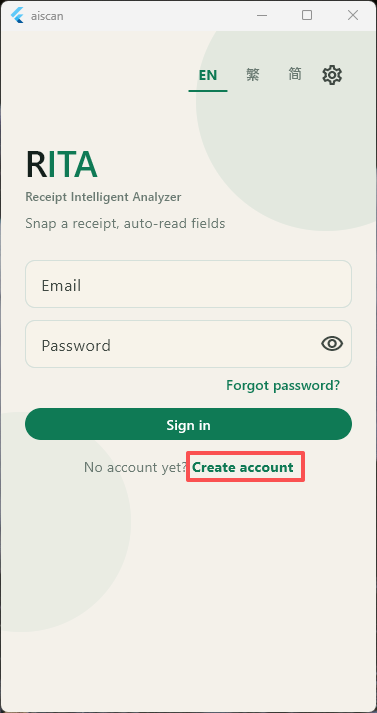
Create an account
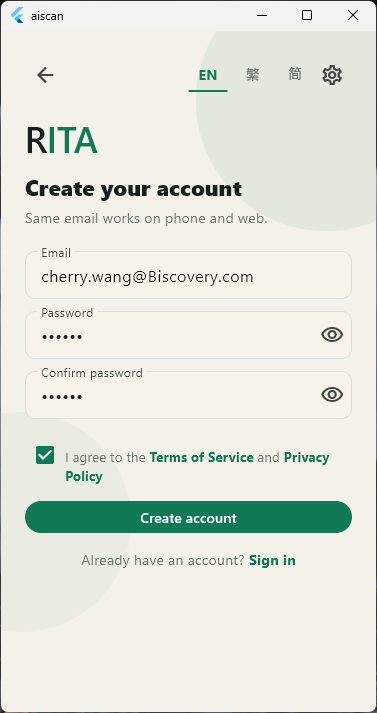
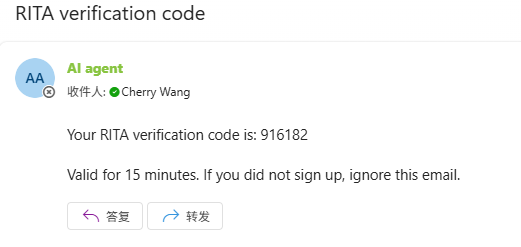
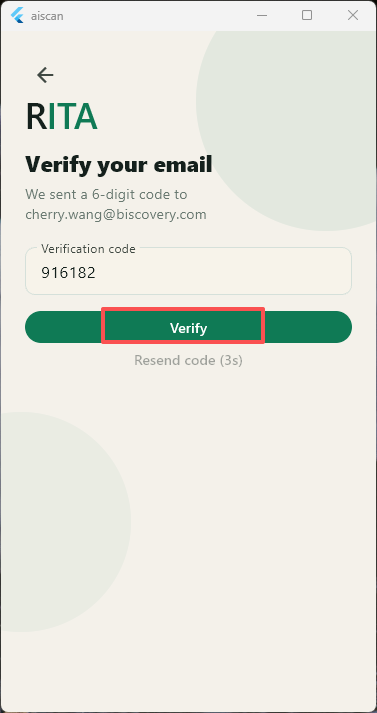
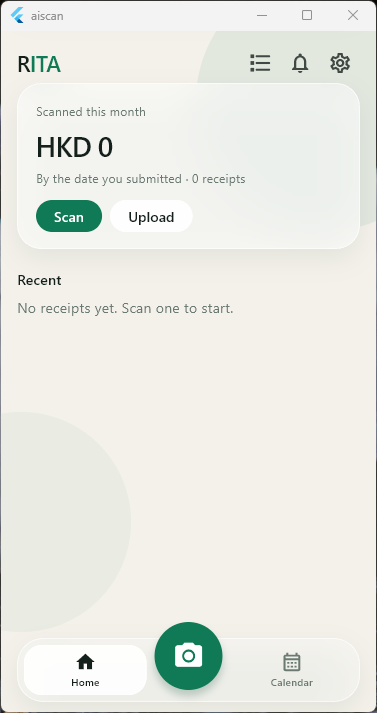
Enter your email and set a login password (tap the eye icon in the password field to show what you typed), receive the verification code, and the account is created once verification is complete.
RITA · AI Expense Claims
RITA turns expense claims into a few taps: scan or upload a receipt, let AI read the details, route the claim to the right approver, print the voucher from any browser, and receive data reports by email. This guide walks through the standard flow from creating an account to printing your first voucher.
Guide
The examples follow two demo users: Cherry (company administrator) and Nancy (employee). This guide covers the standard happy path only — exceptions, batches, rejections and repeat trials are not covered.
Enter your email and set a login password (tap the eye icon in the password field to show what you typed), receive the verification code, and the account is created once verification is complete.
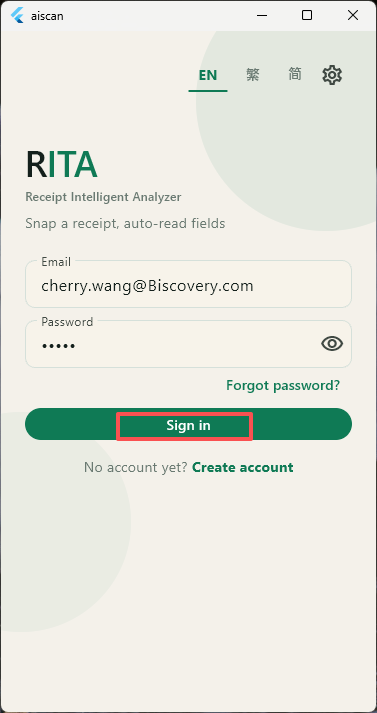
Sign in to the system with your email and password.
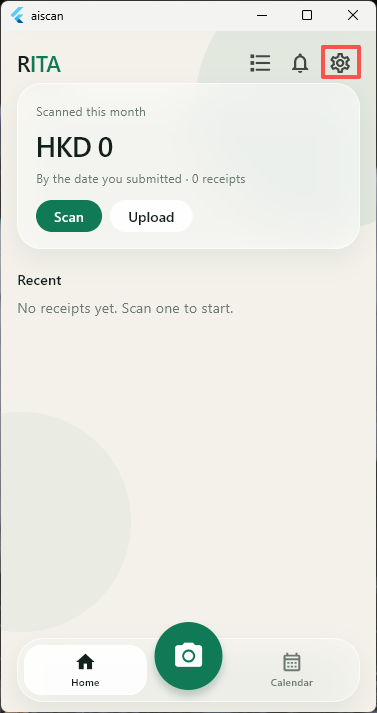
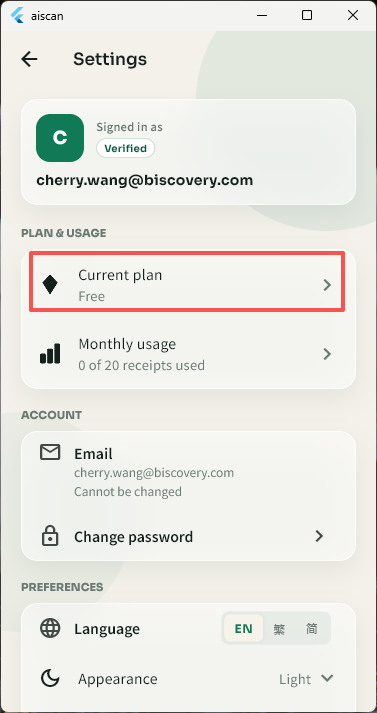
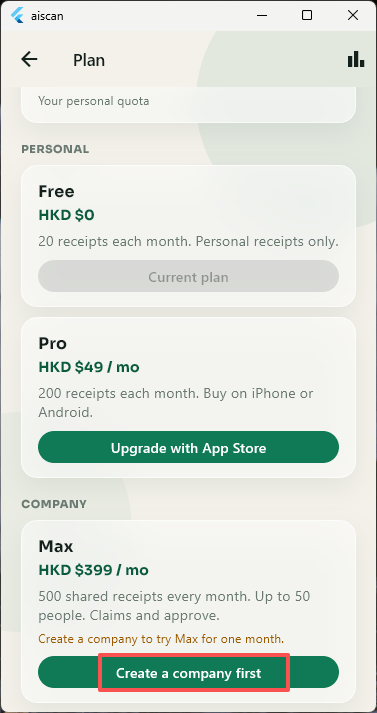
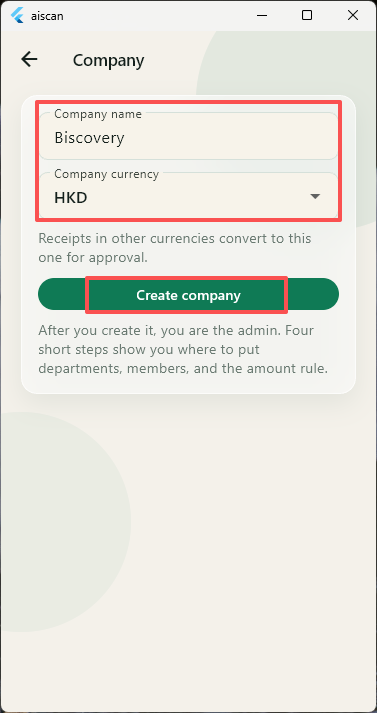
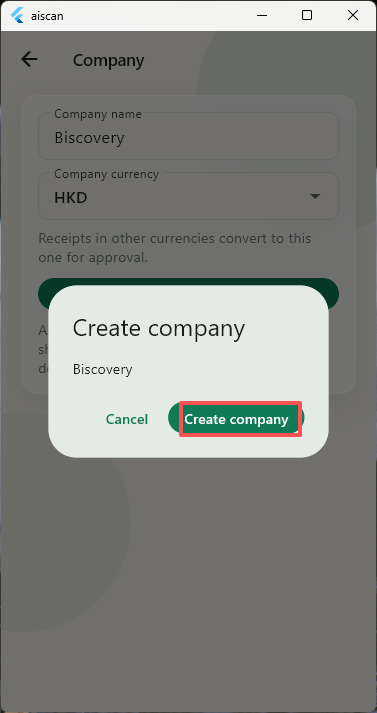
Cherry creates the company. Once it is created, Cherry automatically becomes the company administrator and the Max trial starts.
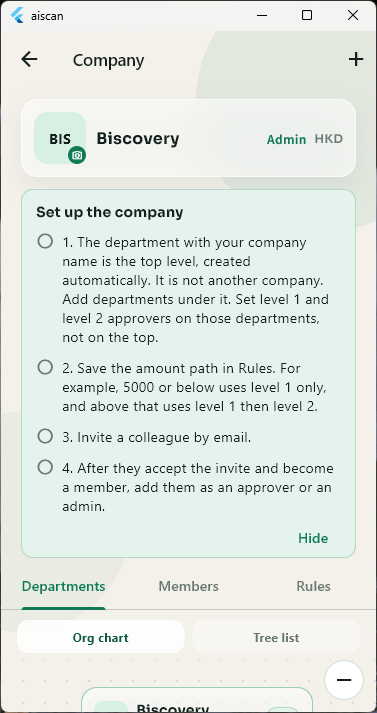
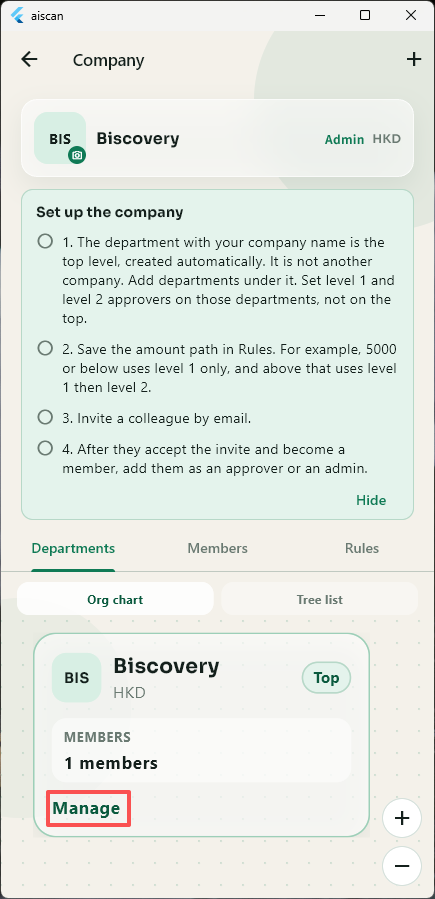
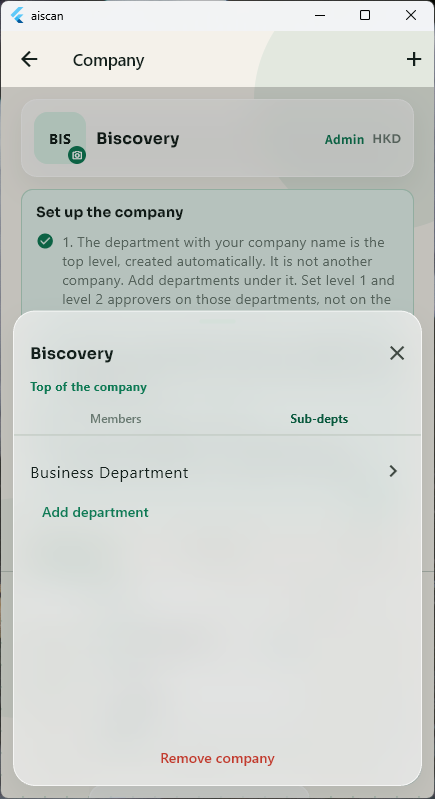
Add a department under the company node (example: Business Department).
Note: the top-level node is the company itself and is not a department.
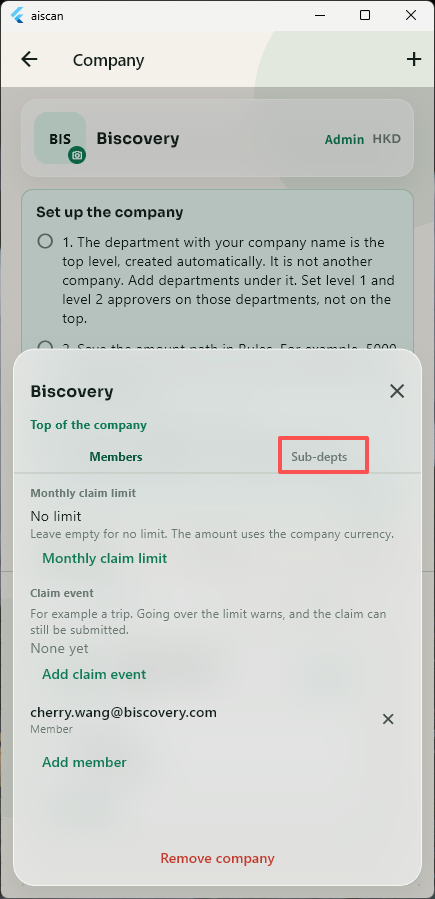
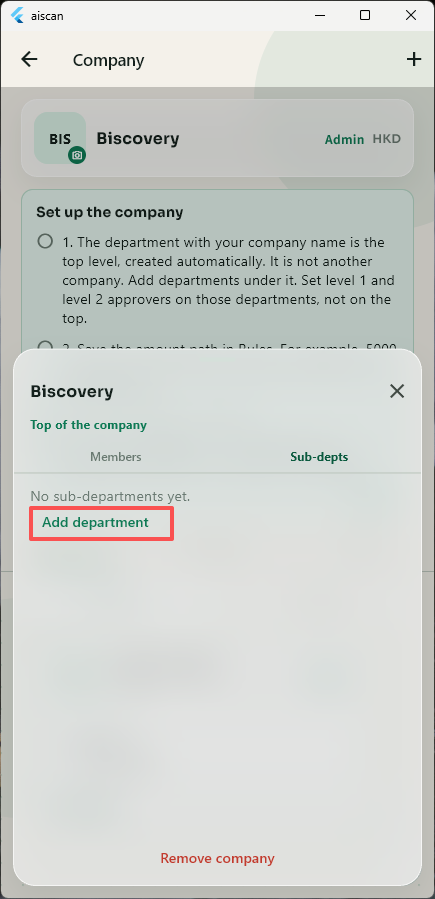
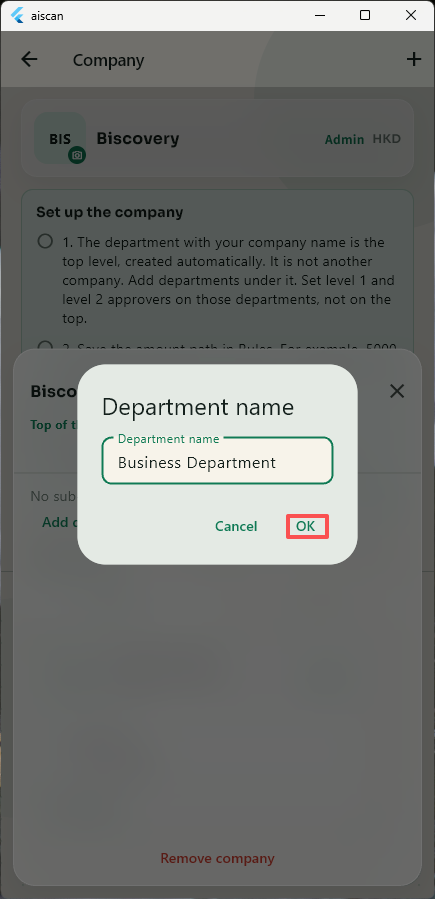
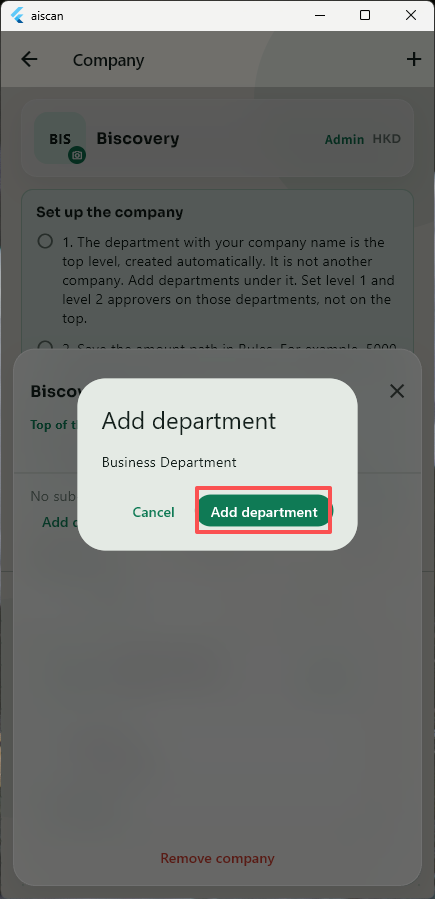
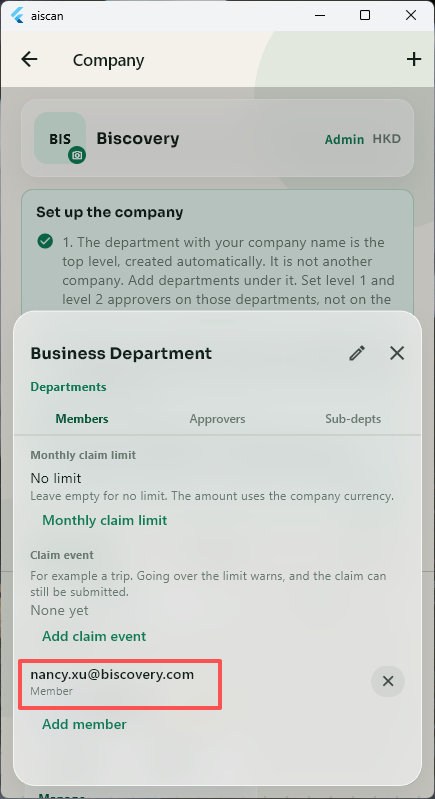
Invite Nancy's email to join the Business Department. Note: until Nancy accepts the invitation, the employee does not appear in the department member list.
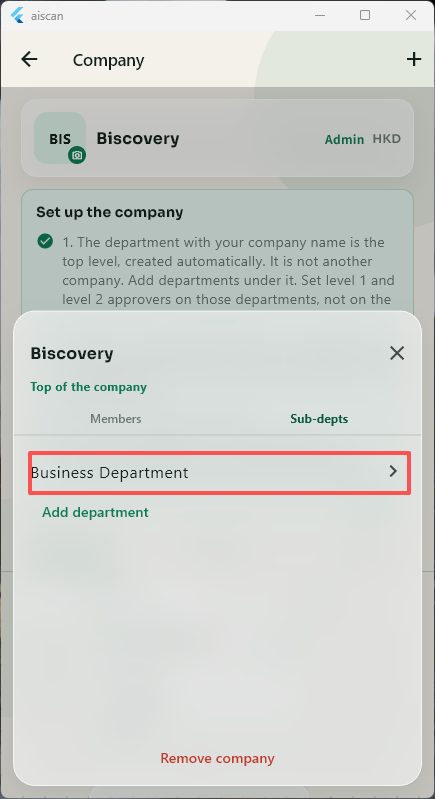
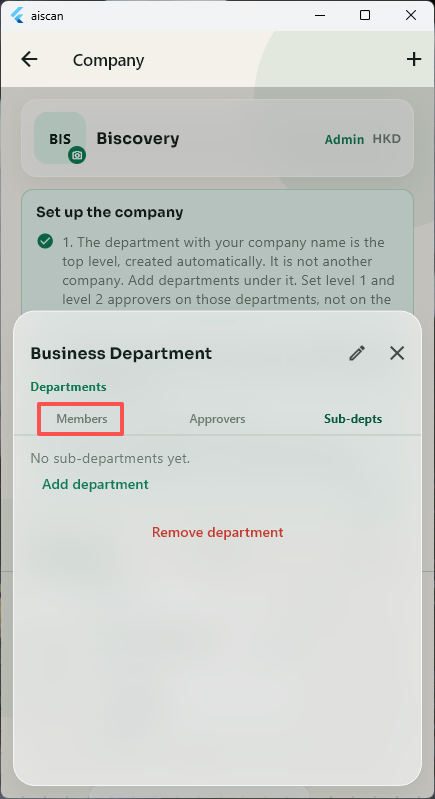
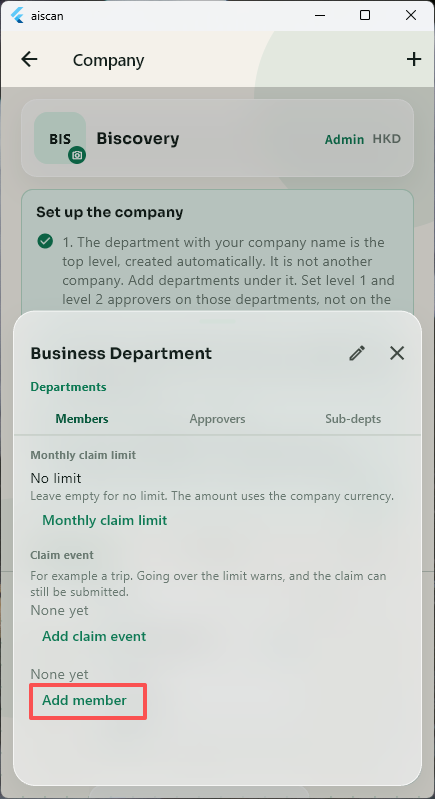
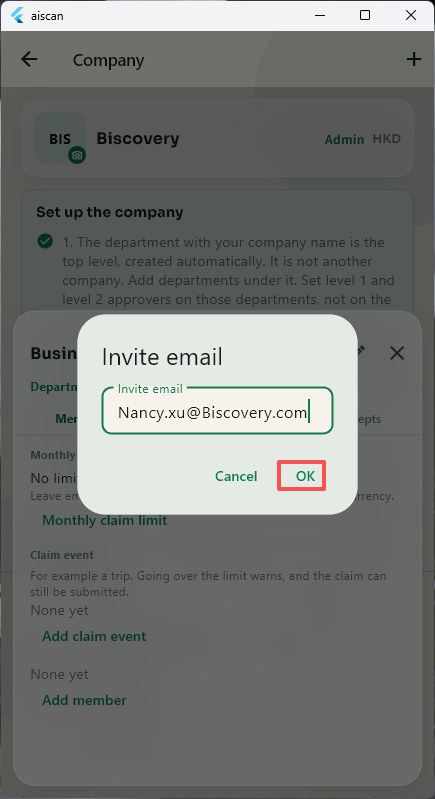
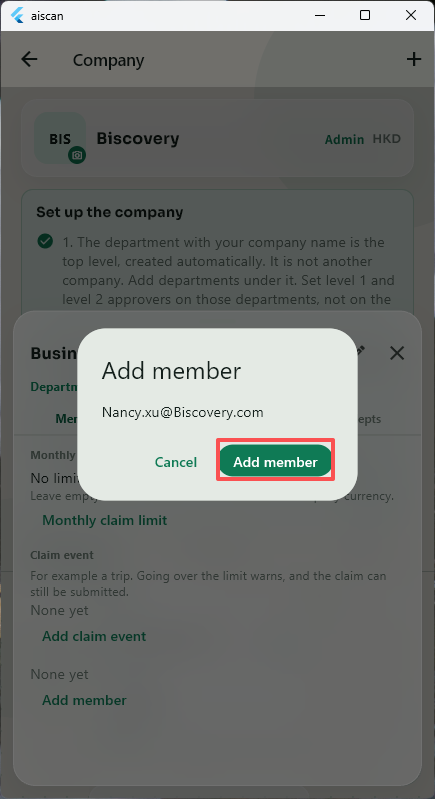
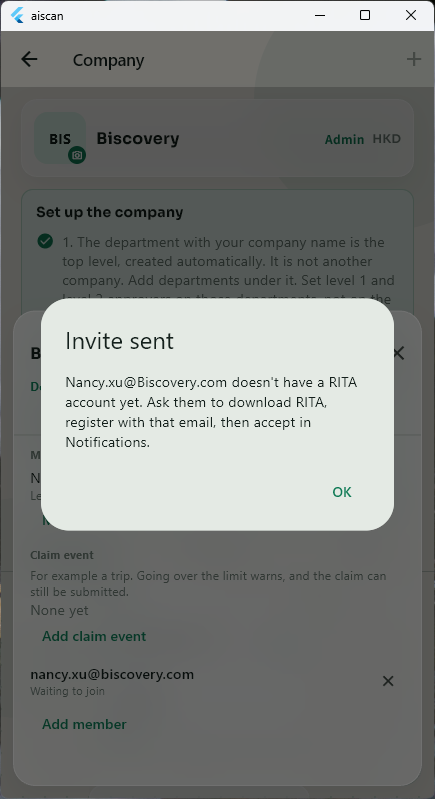
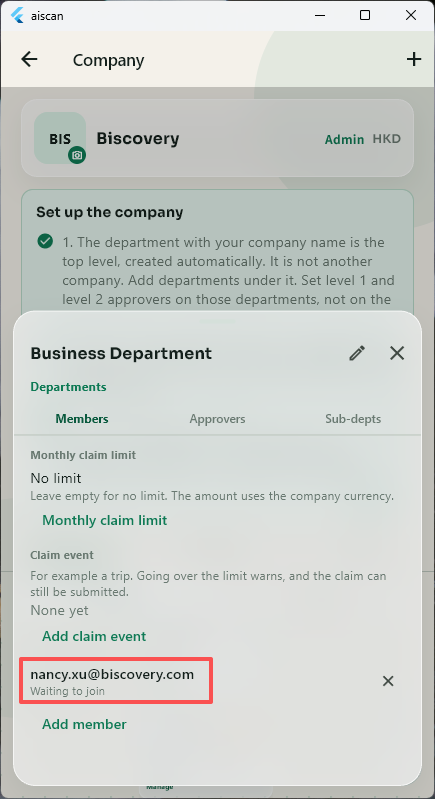
Before Nancy accepts, her status shows “Waiting to join”.
Nancy registers or logs in with that email and accepts the invitation from her notifications.
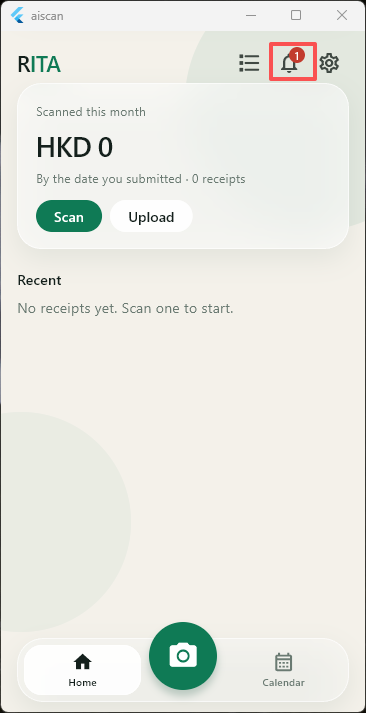
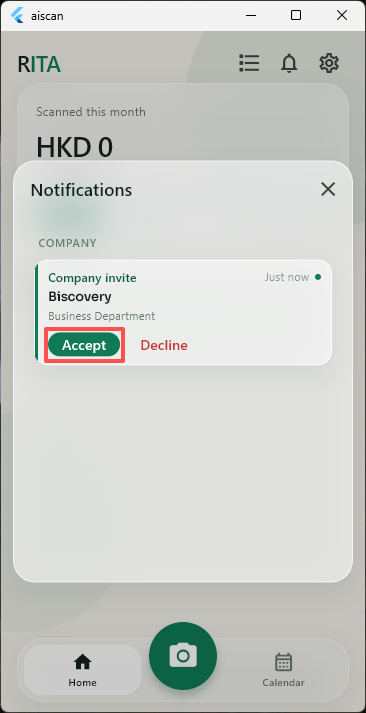
After accepting, company settings appear and Nancy can view the company she has joined.
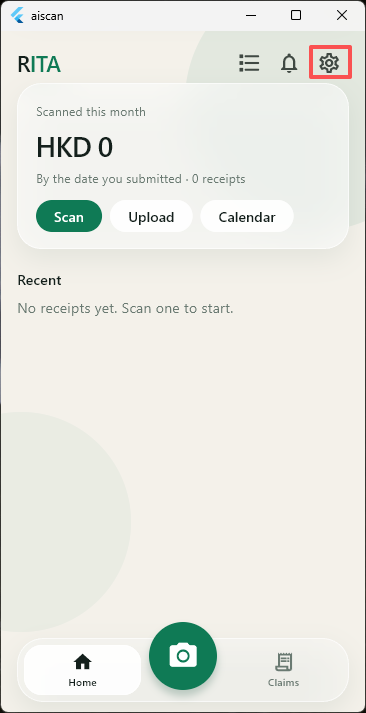
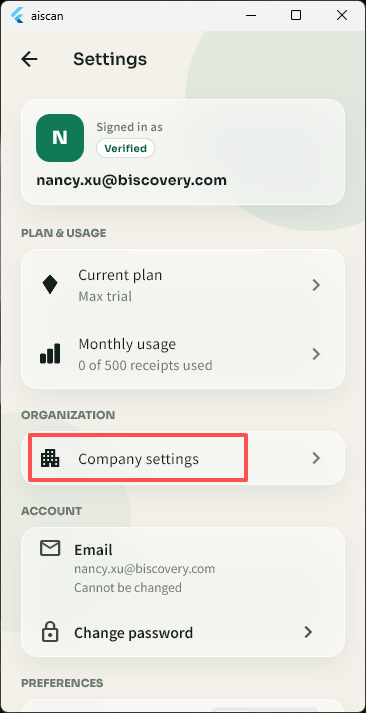
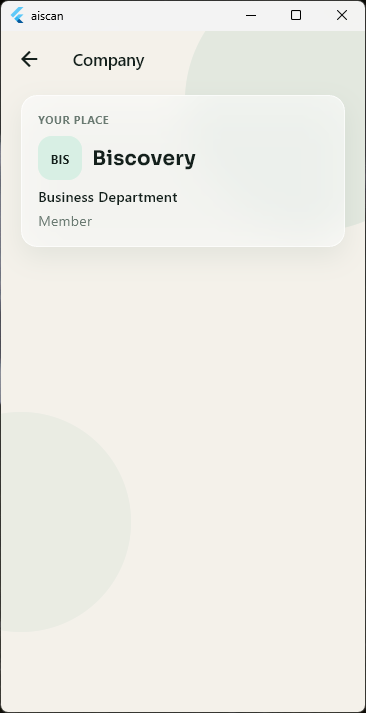
Once Nancy has accepted, her status shows “Member”.
The system has two levels of administrator permission: company administrators can manage the whole company, system rules and vouchers; department administrators manage a single department only.
For this flow, adding one department administrator is enough. The person you set as administrator must already be a member of the company.
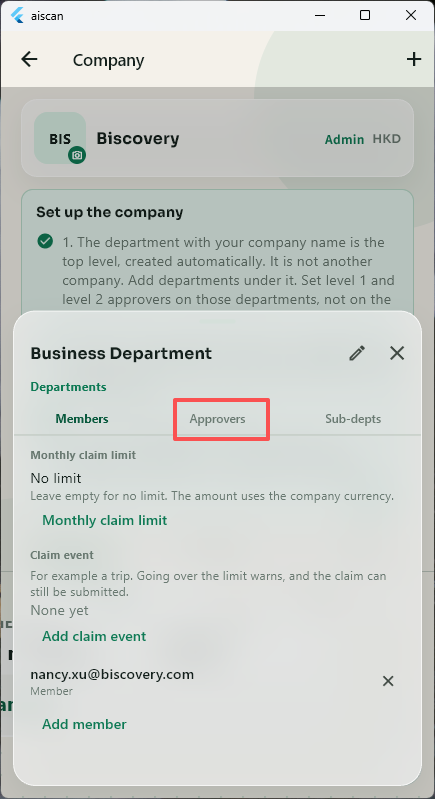
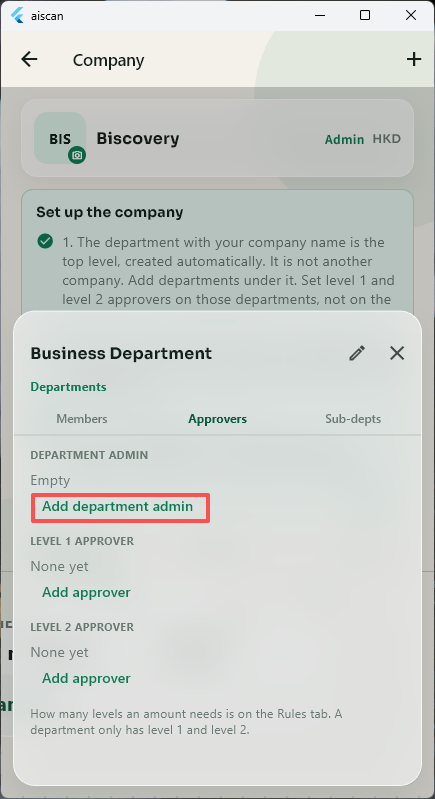
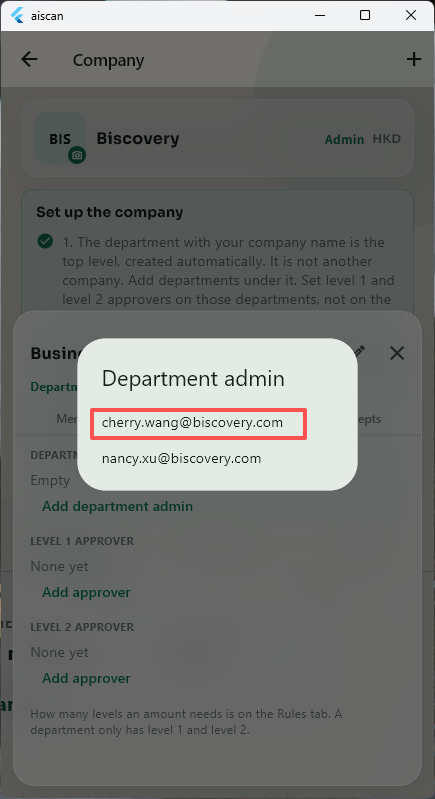
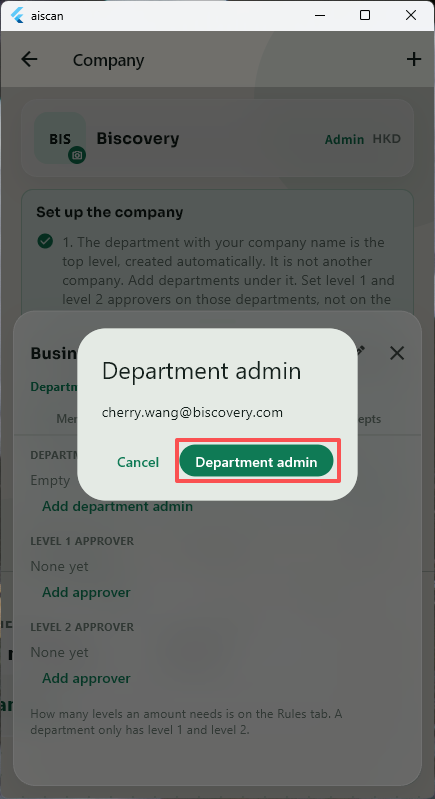
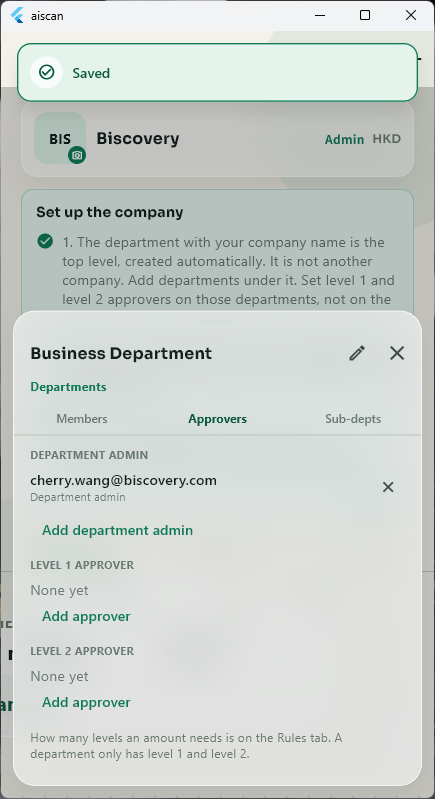
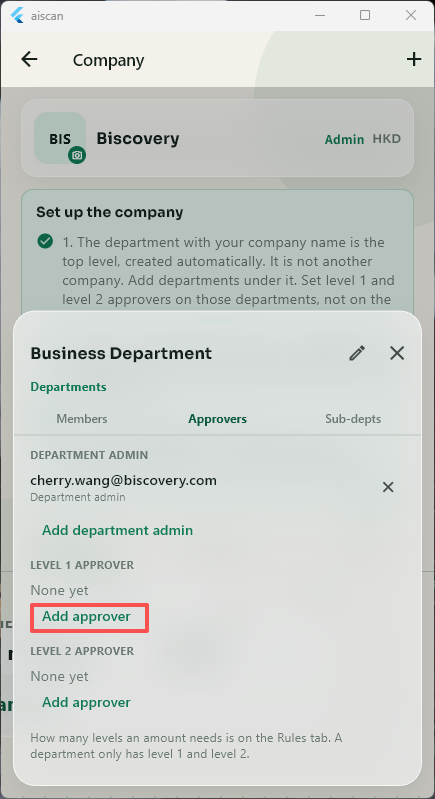
In the Business Department, designate Cherry as the first-level approver. A second-level approval is not needed in the first release.
Note: if no first-level approver is set, employees cannot submit expense claims.
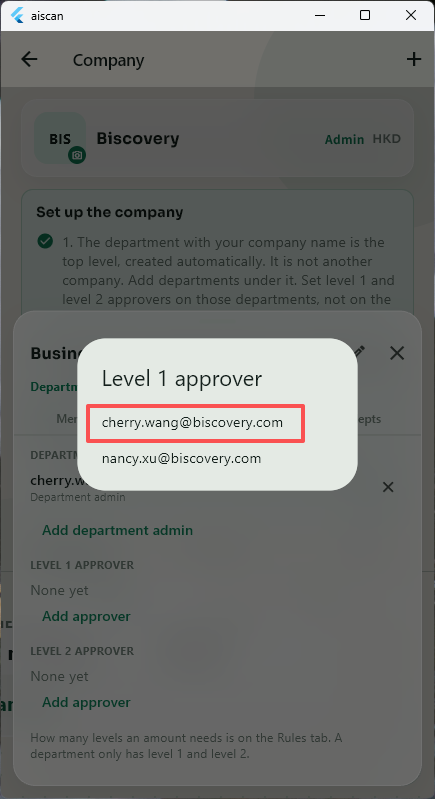
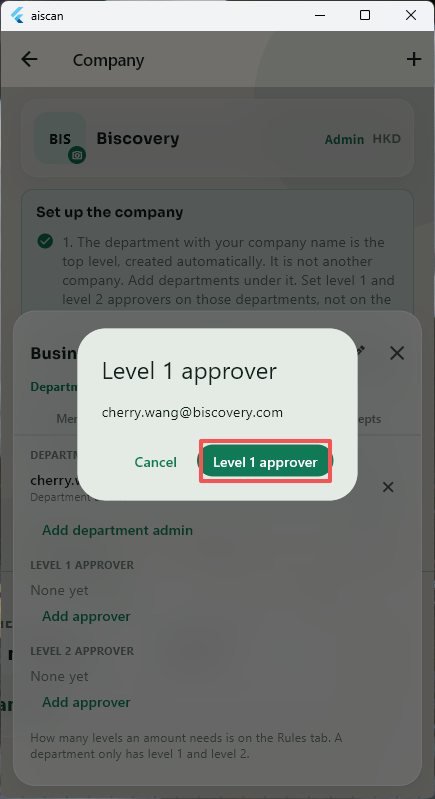
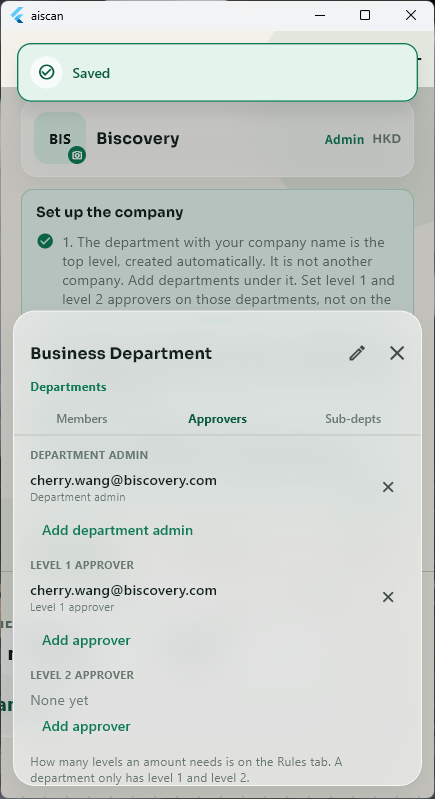
Create one rule: with no extra conditions, claims go through first-level approval only.
How it works: when an employee submits a daily claim, the system matches the rules and assigns it to Cherry automatically. If a claim matches no rule at all, it still goes through the first-level approval flow.
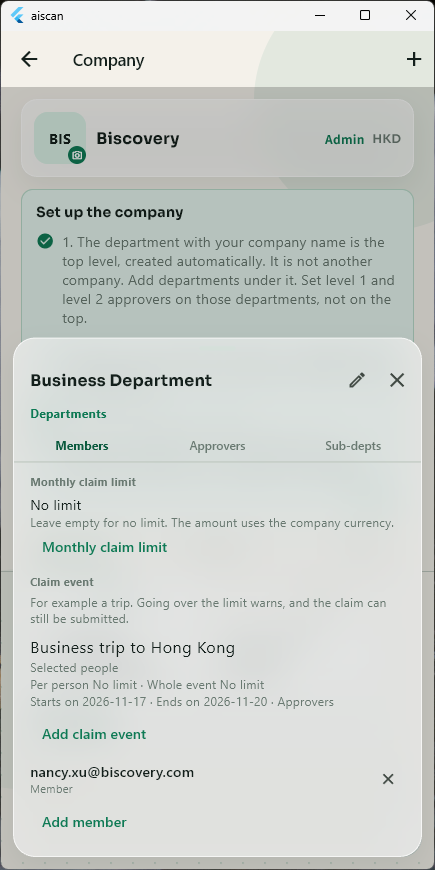
Cherry creates an event with its name and date, and can designate a first-level approver for that event alone. When Nancy submits a claim, she selects the event it belongs to.
Rule: when a claim is tied to an event that has its own approver, the event's configuration takes priority over the daily rules in step 8. The person who submits a claim cannot approve it themselves.
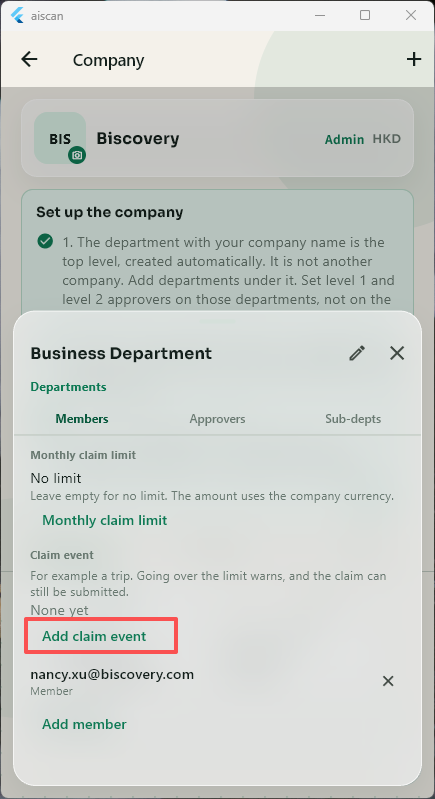
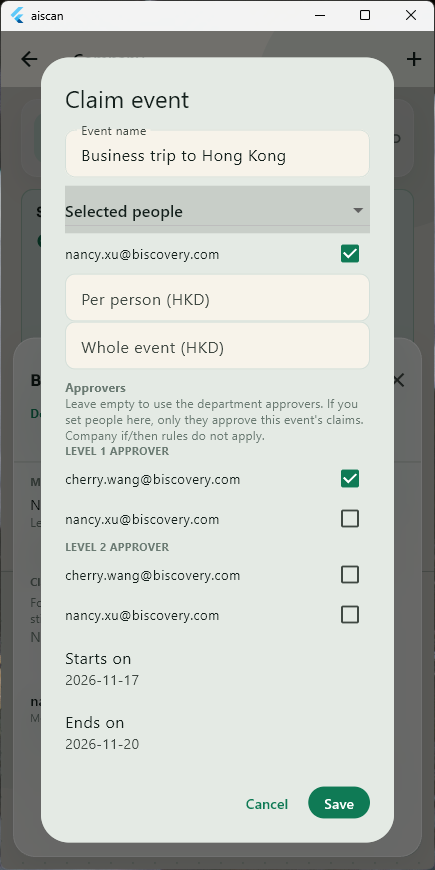
If an event's date has passed, the event is hidden by default.
Nancy's flow: scan/upload the receipt → confirm the claim details → start the request → choose the claim type → fill in the purpose → submit. A claim can follow the daily department flow or be tied to a specific event.
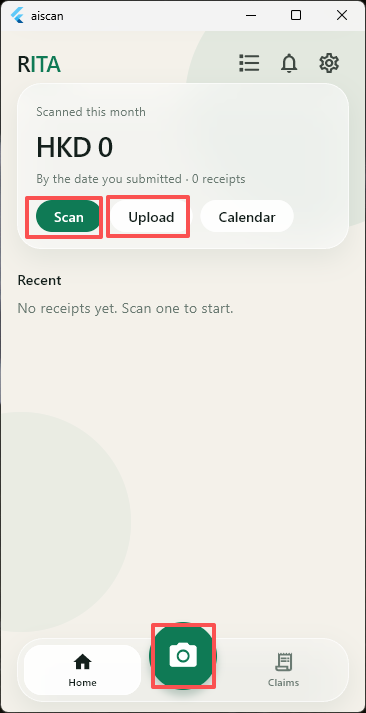
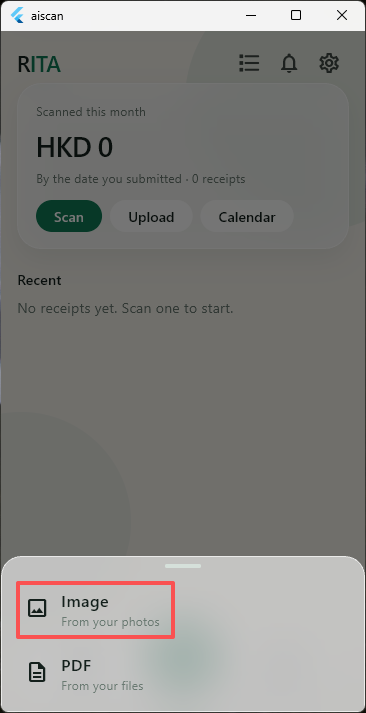
AI reads the receipt details automatically, and you can also edit them manually.
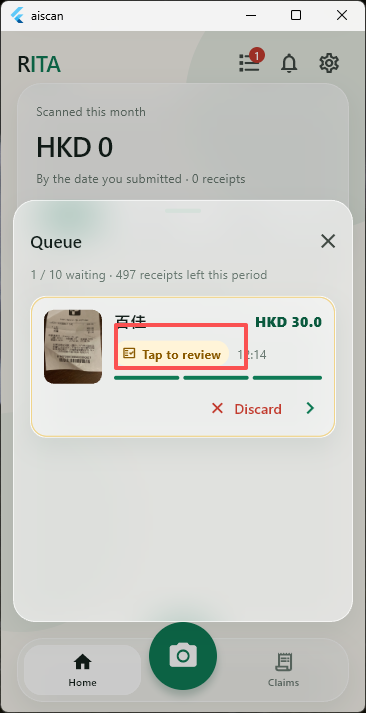
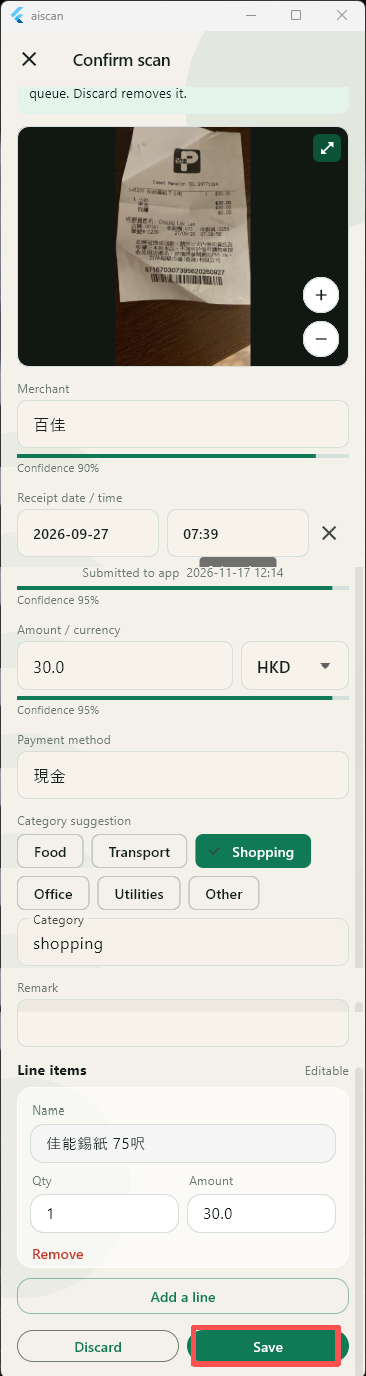
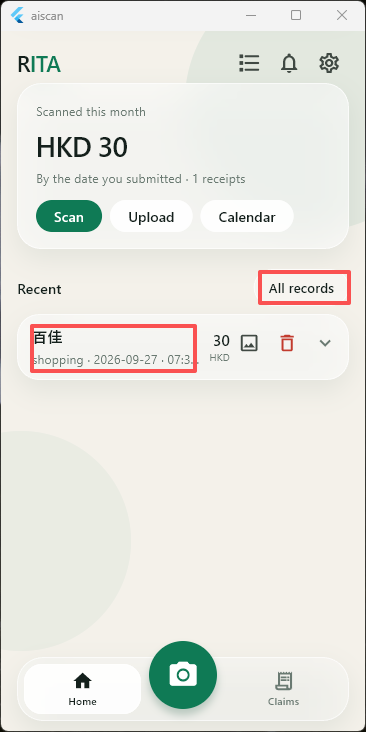
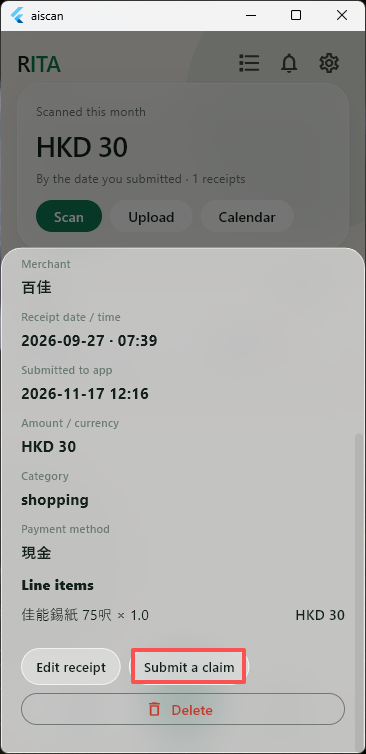
For a single request, tap the claim directly; for multiple claims, tap “All records” to request them in batch.
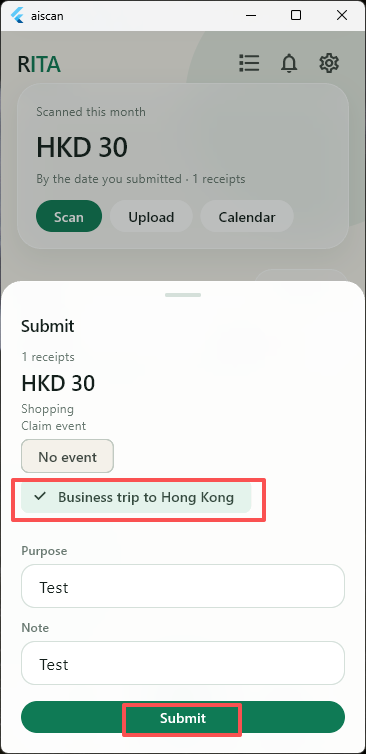
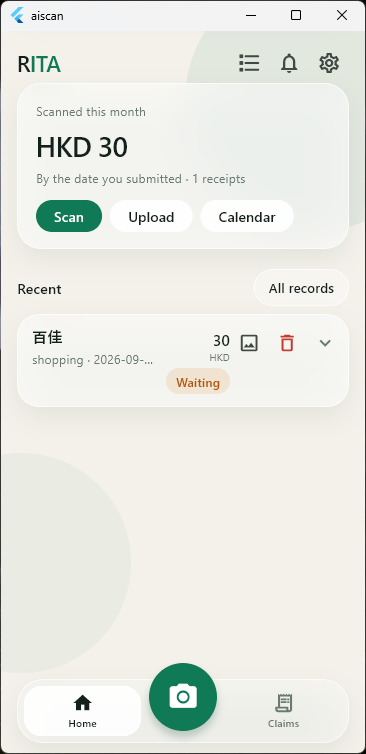
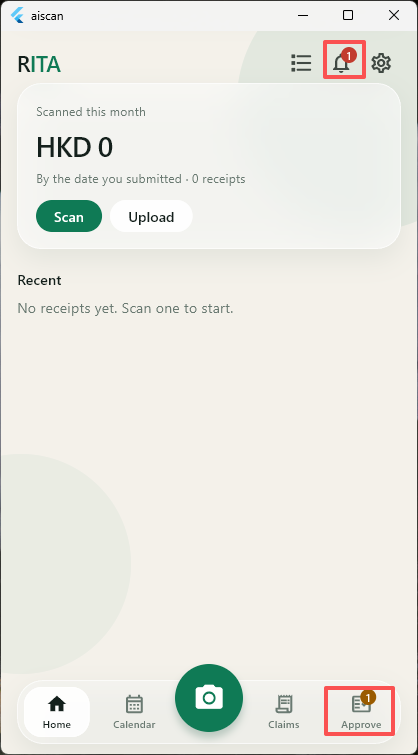
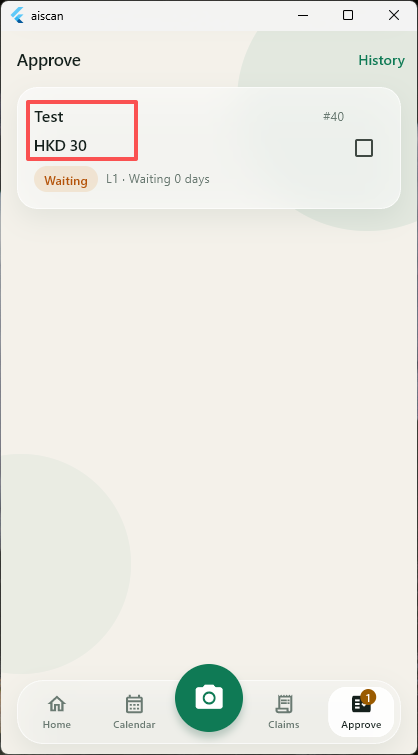
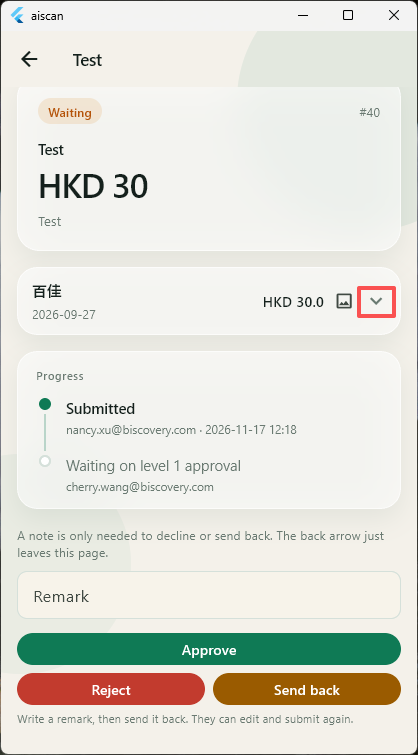
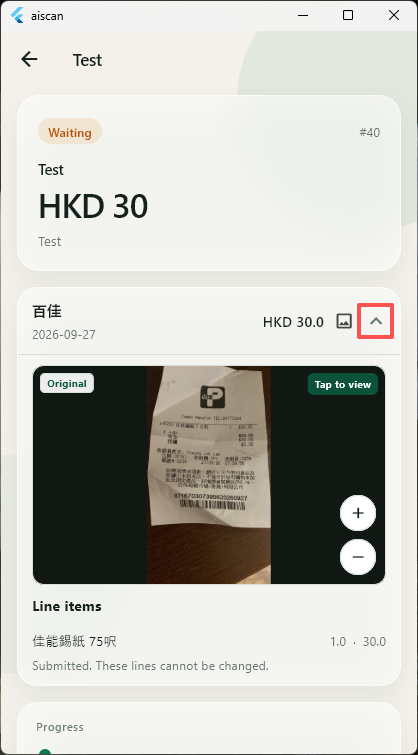
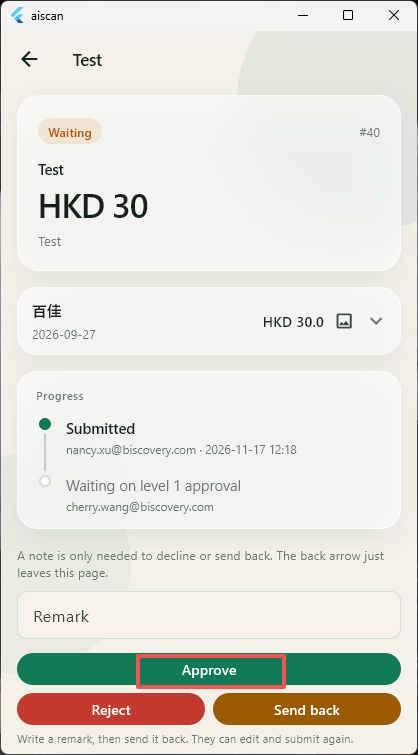
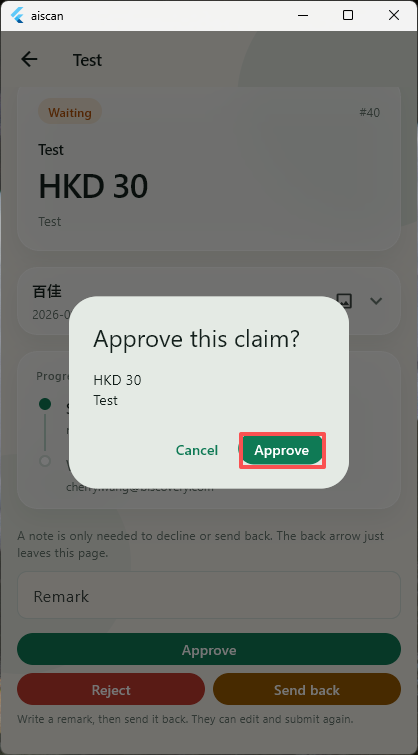
Cherry taps “Pending my approval” in the bottom bar, opens the claim and approves it. Once approved, the flow is complete.
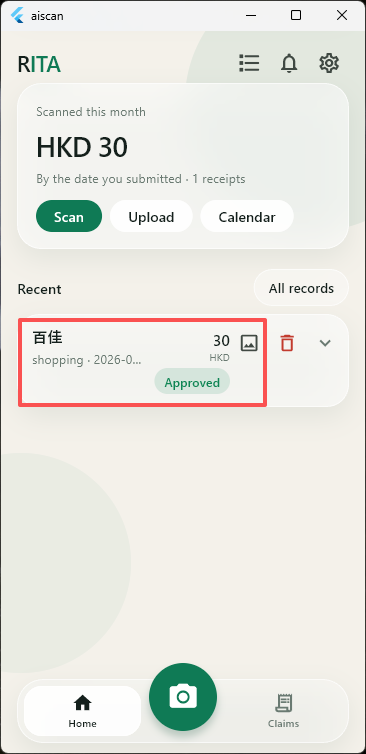
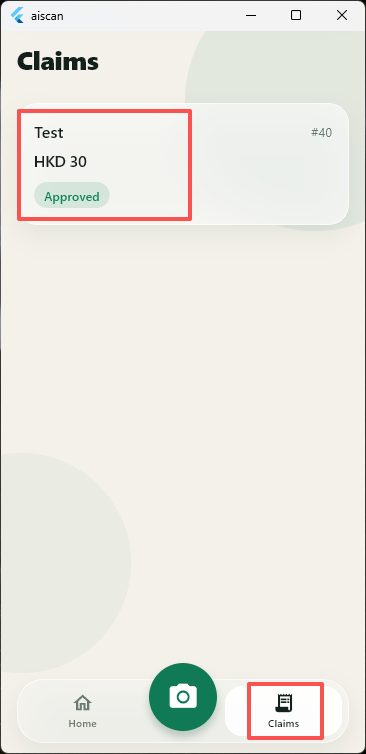
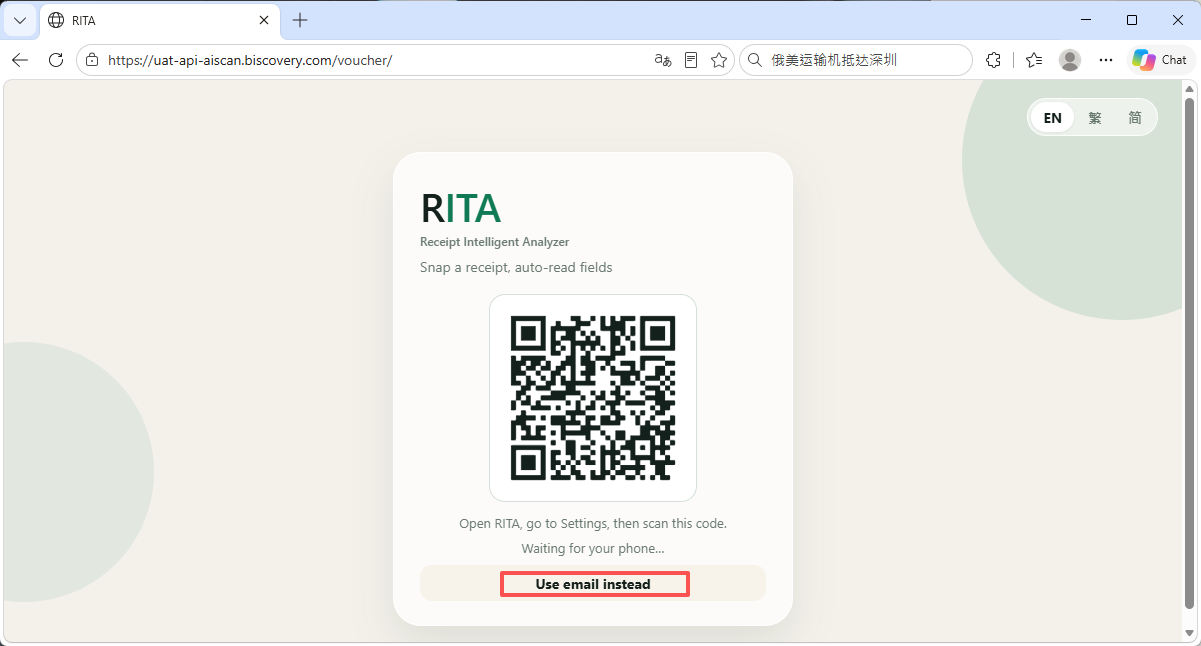
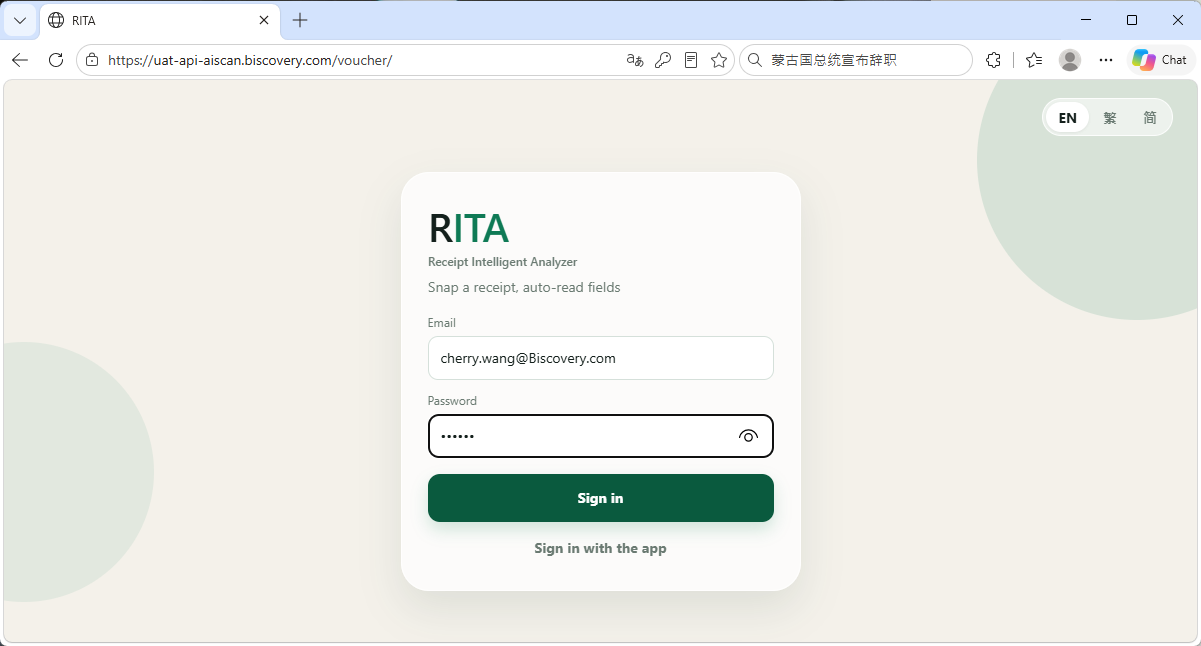
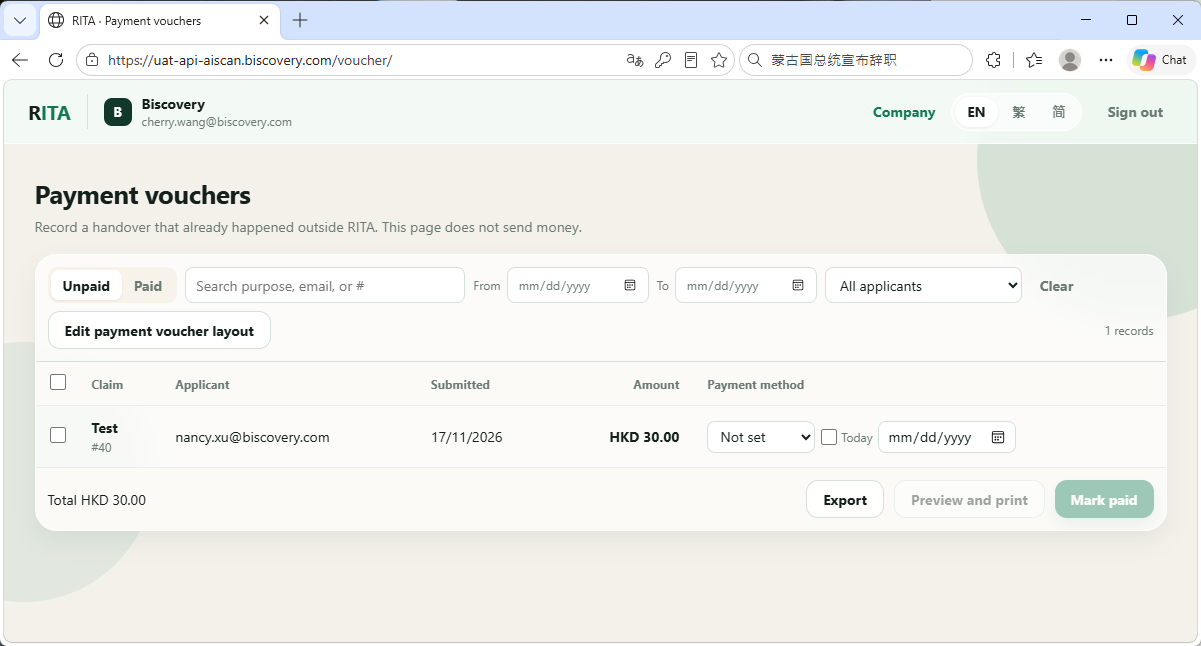
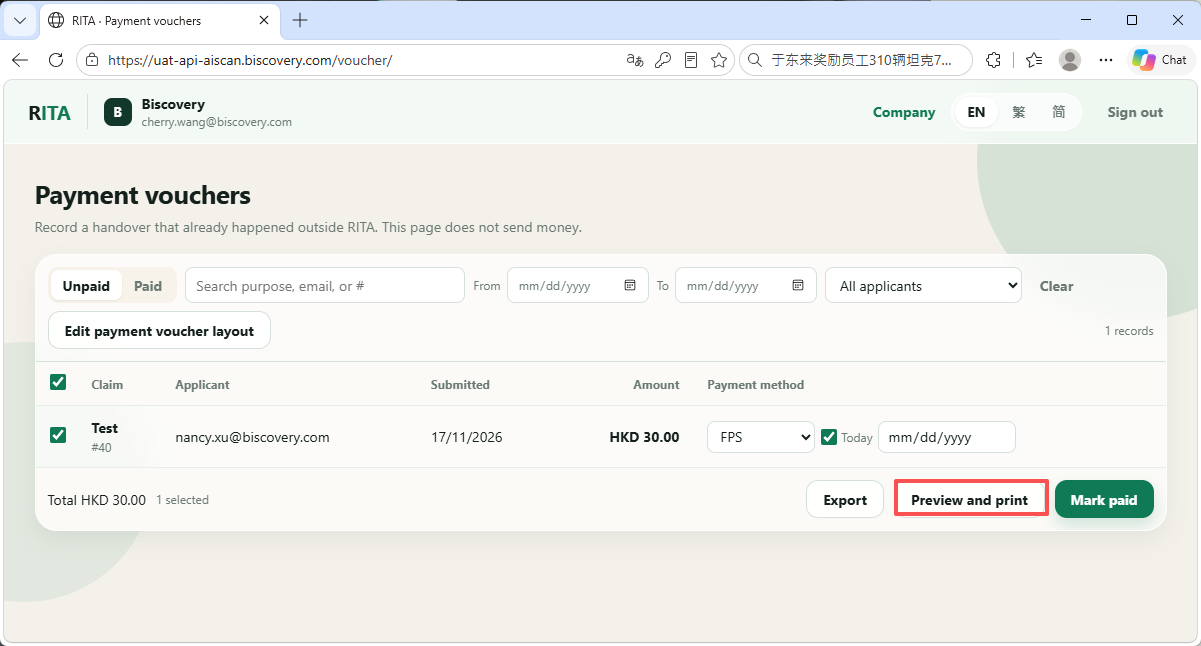
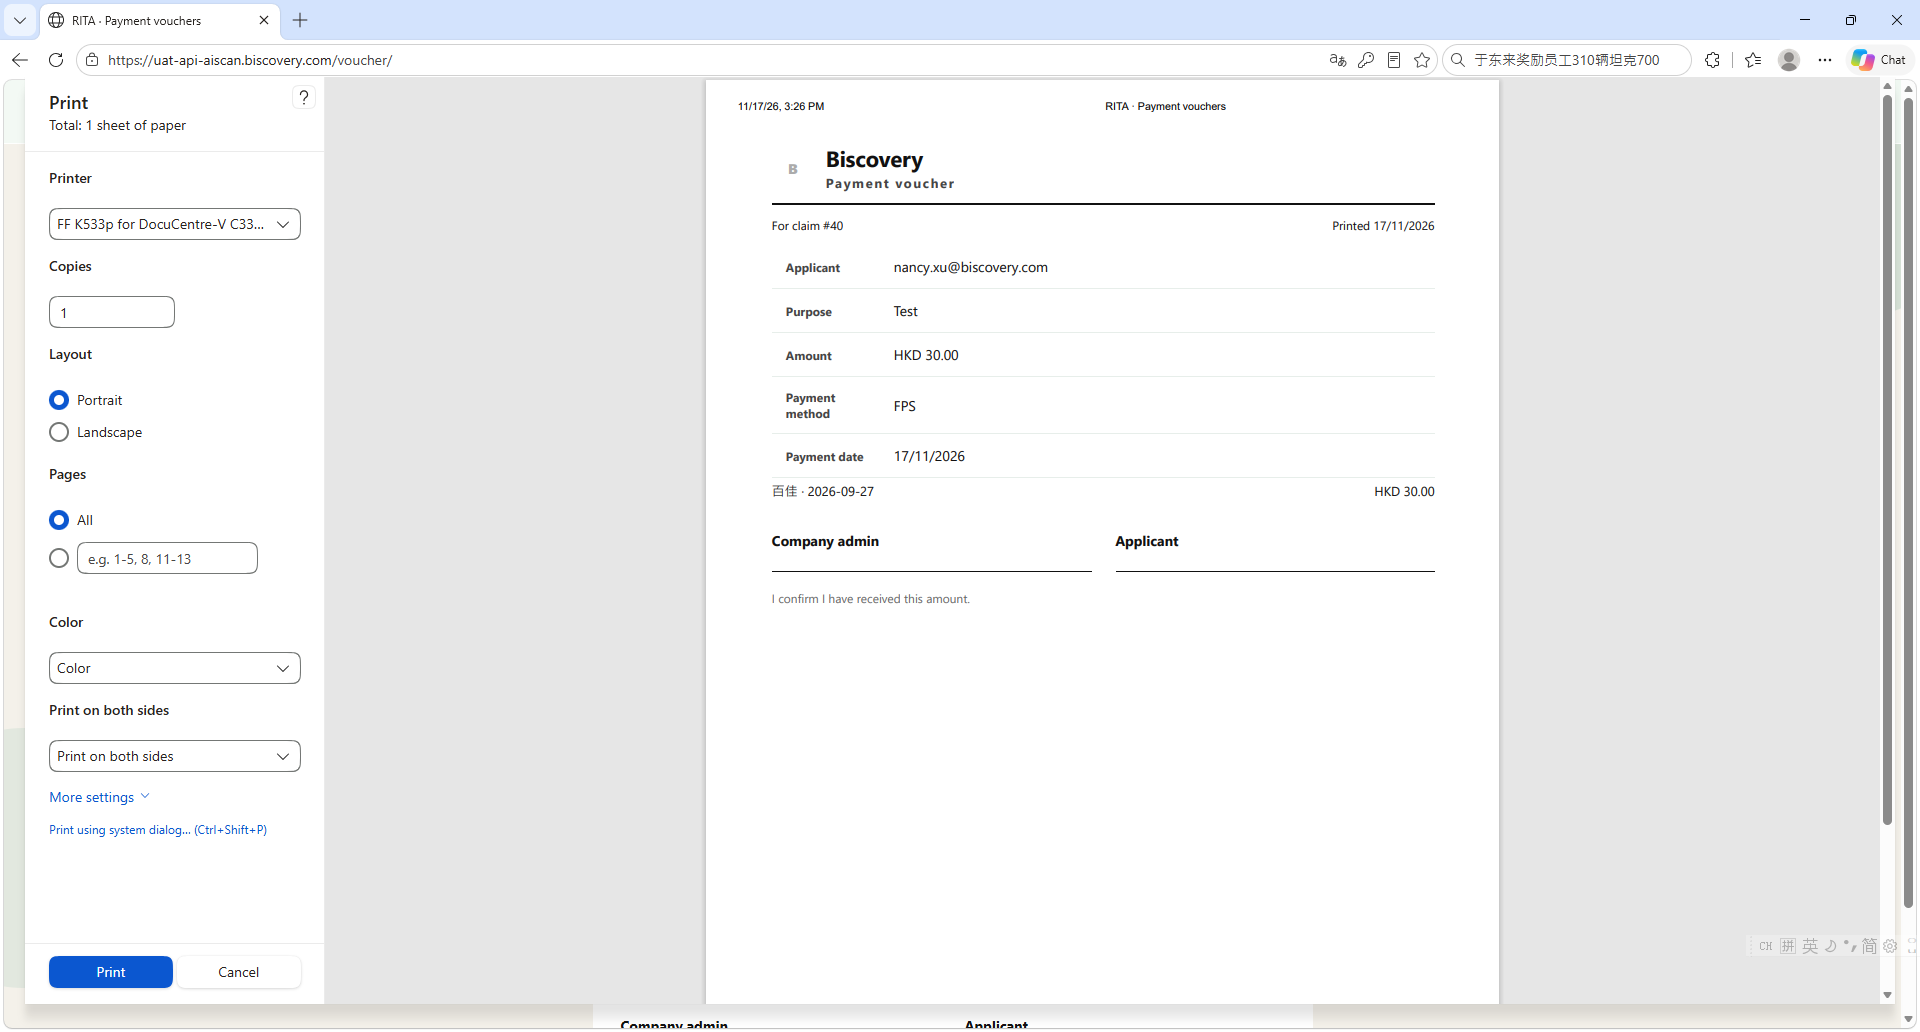
Cherry logs in from a browser (password sign-in or scanning a QR code in the app), finds the approved claim, registers the external payment method (cash / cheque / FPS), and prints the voucher.
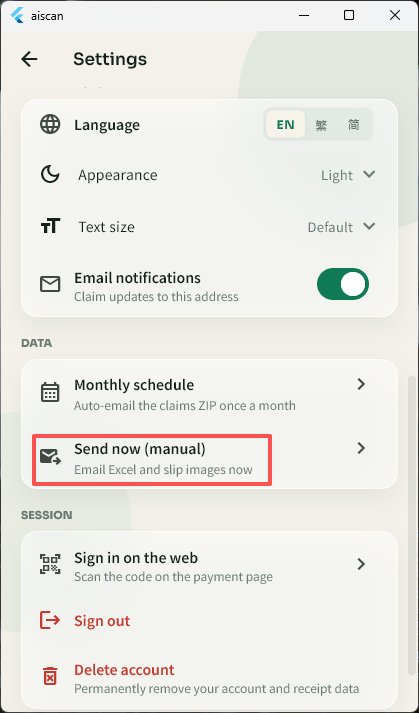
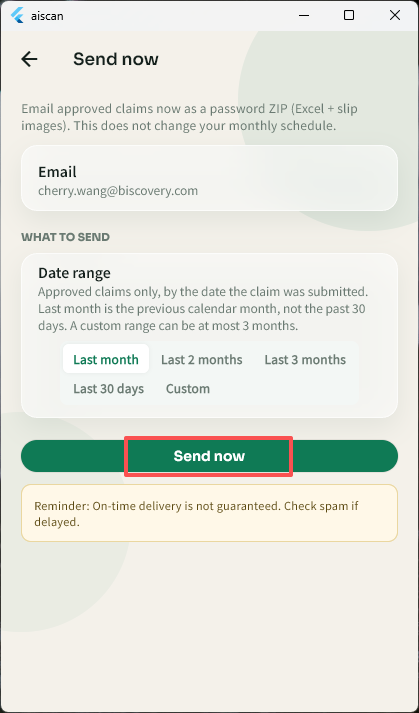
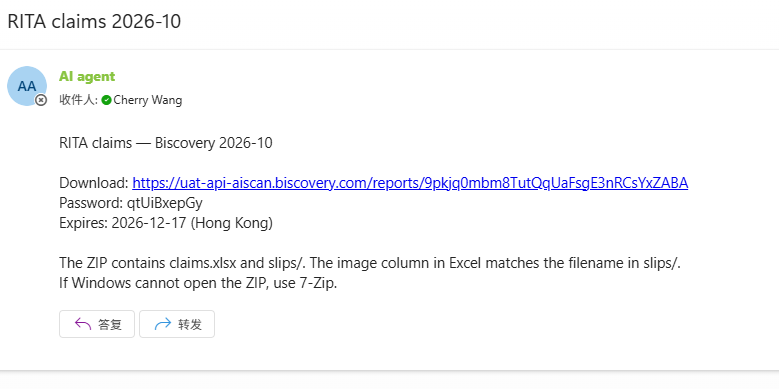
Cherry can send a data report to her email and download it via the link.